
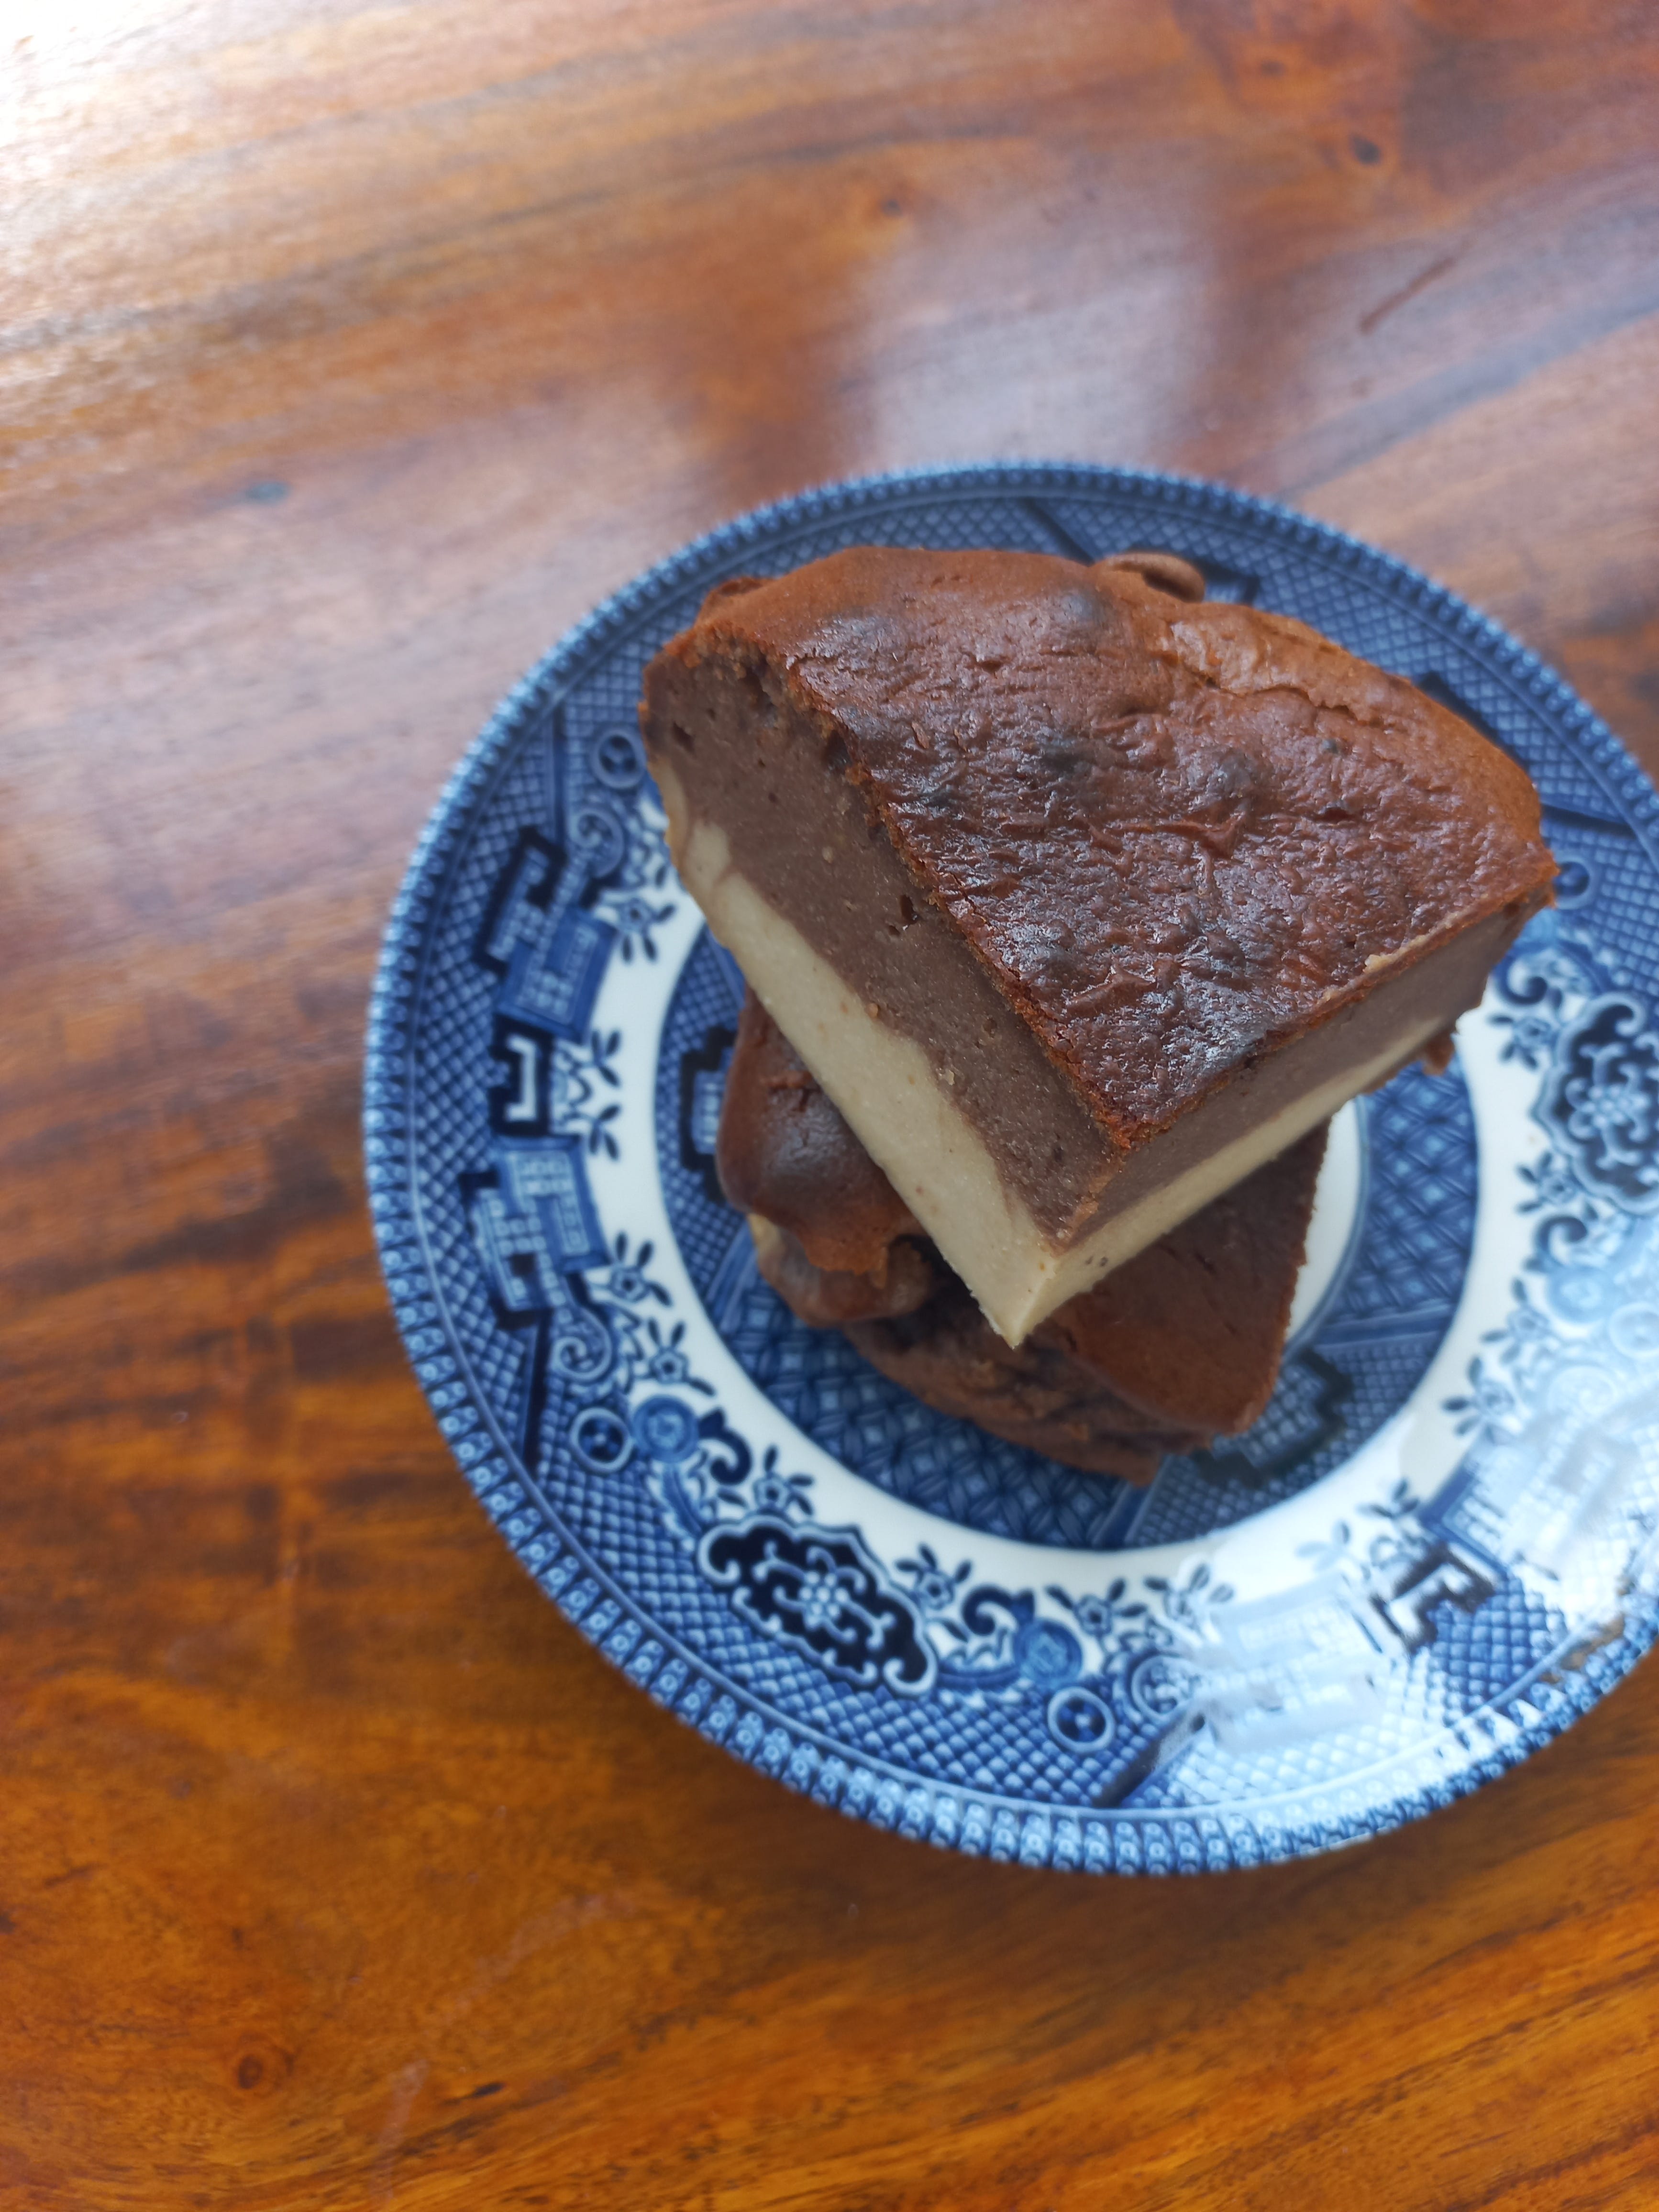
Recipe: Peanut Butter Chocolate Basque-ish Cheesecake
Grain-free and high cooking temps for snacking bliss

The internet is a funny thing. It has a way of making things familiar to you, or previously known to you, into something else. I had the now super-famous viral cheesecake slice from San Sebastian’s La Viña restaurant in 2011. La Viña, which translates to vineyard, is a ‘pintxos’ forward bar/restaurant, but its simple ‘tarta de queso’ dessert keeps the lights on. It was quite popular at the time—dare I say almost famous, but not yet internet famous. Certainly there were lines out the door and dangerous elbows vying for bar space then. Yet, how many more rustic, burnt “pies” could one small establishment churn out? Enter, home cooking. Since Marti Buckley’s 2018 book Basque Country exposed it to “the world”, media outlets and English-speaking audiences based on imperial measurements in particular (she is from the States originally), it has only exceeded that previous fame, and now millions of search engine results and home-bakers turn to this style of cheesecake.
What makes this cheesecake a global fan favorite is its ease; there’s no biscuit or cookie base, so there is no need for a food processor or extra cooling time or even multiple bowls, just whip up the batter, pour and bake. Granted its a bake at very HIGH temperatures, yet that unique burn leads to the signature caramelized crust. While I don’t make a habit of ingesting burnt foods, an occasional nostalgia flavor trip that summons up feelings of summer BBQs or eating pintxos (with dessert!) al fresco amongst bustling crowds and sandstone colored façades with a sea breeze…is pretty tempting from this current couch and laptop position.
While the original is removed from the oven jiggly, and served rather gooey in the center, I wanted this version to be more portable, more snack-able (ha!). The parchment paper method, crustless edges and charred top, keep it truer to the original inspiration. The peanut butter and chocolate combo are, of course, my way of wknd-izing it. The nut butter is what allows for this cheesecake to keep a tighter structure without the use of flour; however if you don’t like peanut butter, or avoid for allergens, substitute with tahini, or another unsweetened nut or seed butter such as cashew or sunflower. You can easily double the batch for a taller and more plentiful snacking cheesecake in a springform pan, and add about ten minutes to bake-time. If the top is getting to dark for your taste, cover with aluminum foil for the final necessitated timeframe. This is seasonally approved as well, because you can serve at room temperature, or direct from the fridge for warmer days and climates, and top with your favorite jam del día. Would also be delicious with a dollop of whipped cream of your choice, and in keeping with Basque and Spanish costumbre (tradition), a glass of chilled sweet wine.
Peanut Butter Chocolate Basque-ish Cheesecake
Makes roughly six servings
Tools needed:
Large mixing bowl
Spatula
Electric hand mixer
Parchment paper
20x10cm / 8”x4” loaf pan (or springform for double-batch size)
Cheesecake ingredients:
185 mascarpone, at room temperature (if you can only get cream cheese, or want a vegan cream cheese option, do that)
135g creamy peanut butter (if salted, omit salt later on)
65g sugar
1/4 tsp salt
1 large egg + an additional egg white (~80g beaten)
115ml heavy cream (soy, coconut or cashew cream works too)
8g cocoa powder (for final step)
Method:
Preheat oven to 220°C (430°F)
1) Line the pan with two criss-crossed pieces of parchment paper (to avoid leaks) and leaving some to flap over the sides for easy transfer and removal later.
2) In a large bowl using a handheld mixer or in the bowl of a stand mixer fitted with the paddle attachment, thoroughly mix the mascarpone, peanut butter, sugar and salt until smooth.
3) Add the beaten eggs and continue mixing until fully incorporated. Do the same with the heavy cream.
4) Pour 2/3 of the batter into the prepared pan.
5) With the remaining 1/3 of the batter in the bowl, sift in the cocoa powder and gently fold by hand a few times to avoid a cocoa dust-storm, then mix with the (same, unwashed—yay, no clean-up yet) hand mixer until smooth.
6) Pour all of the chocolate batter on top of the peanut butter layer in a polkadot pattern, and using a chopstick or similar, swirl the two together through various ‘S’ wave motions, touching the stick just barely to the bottom. This step makes for a fun visual experience, but also removes rogue air pockets.
7) Bake for 25-30 minutes, or until quite browned and almost burnt-looking on top—but use your judgement and rely on your preferences, as ovens and palates differ. I recommend keeping your eye on it from 20 minutes on. And please be cautious that the paper hung over the sides isn’t touching the lightbulb, broiler or ignitor gas flame.
8) Remove from the oven and cool to room temperature to set. Further cool in the fridge if you enjoy, or are not serving that day. Keeps for up to 4 days in the refrigerator. (Can freeze.)
On egin! (bon appetit in Basque)
Disclaimer: All writings and recipes found on this website laurenonthewknd.substack.com, as well as the ‘Conversations in Cocoa’ audios hosted and produced by Lauren Heineck, are the original works and property of their author, Lauren Heineck. Recipes are solely for paying subscribers.
You are encouraged to share the links to direct pages and postings, however it is unauthorized to post or (re)publish content found on this site without:
1. Obtaining written permission for doing so; including disclosing to the author where and how it will be used.
2. Then, providing attribution to credit the source and authorship.
For example:
Courtesy of Lauren Heineck, chocolate maker at WKND Chocolate (wkndchocolate.com) and writer/founder of laurenonthewknd.substack.com.
Recipe contributed by Lauren Heineck, chocolate maker, podcaster and writer at laurenonthewknd.substack.com